
Apricot Brandy
Method: Simple distillation process
Suitable Stills:
- Soldered copper alembic still
- Traditional alquitar distiller still
- Distilling appliance still
- Bain-Marie Recipient with an alembic still
- Professional 130L water bath distilling alembic
Ingredients: Apricots or other soft fruit, madeira or malaga type wine yeast, winemakers' yeast nutrient salts and water.
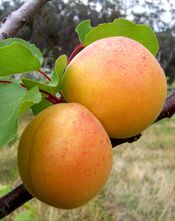
One of summer's advantages is that there is always plenty of fresh fruit to be had, especially if you have a few fruit trees in your own backyard. Often you don"t know what to do with so much fruit. Well here is a suggestion which we thought you would appreciate - apricot brandy – we're using apricots but you can distil just about any fruit that you have on hand.
Make sure you only pick or choose ripe fruit as this will have higher sugar content. Be sure all equipment used is thoroughly cleaned and sterile.
Harvesting
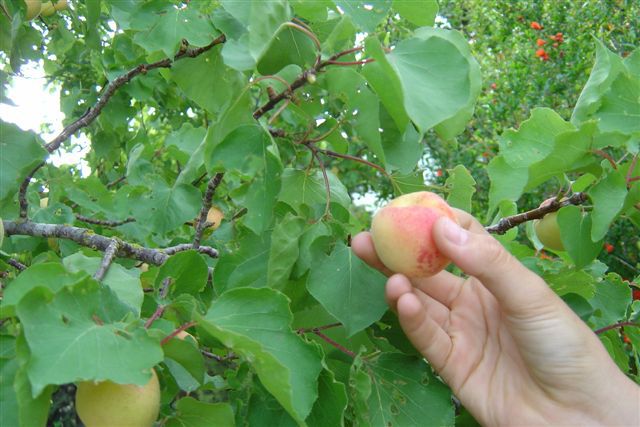
The best time to pick the fruit would be late afternoon as this is when the flavours are most pronounced and the fruit has been left to warm by the afternoon sun. Warm fruit will also ferment faster than cold fruit.
Selecting fruit
Select only the best ripe fruits for your apricot brandy and discard any damaged specimens.
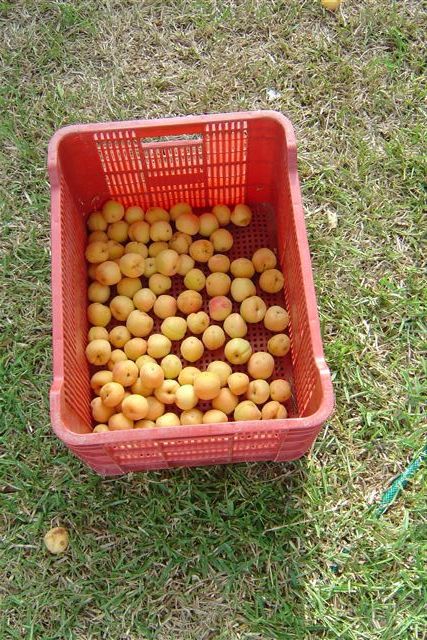
Weighing

A total of 21,6 kg of apricots was collected, that should be enough for our purposes.
Washing the fruit
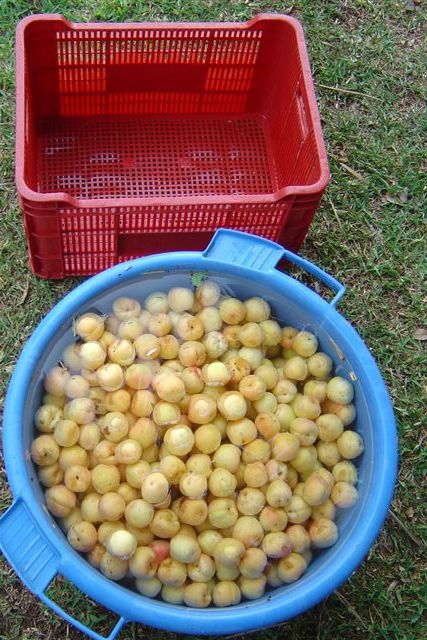
Carefully wash the fruit with plenty of water.
Drying
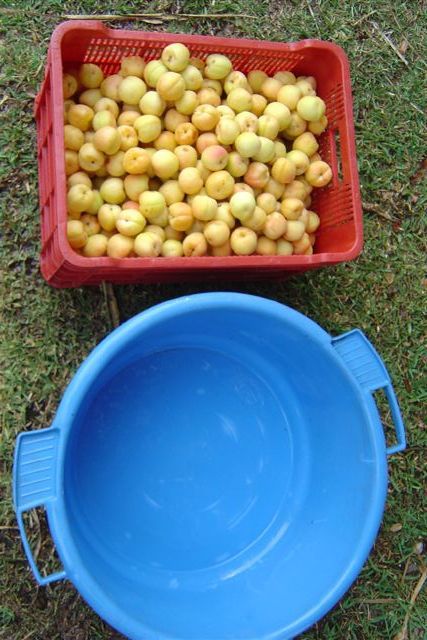
After washing your fruit, place in a crate to allow the water to run off.
Removing the stones
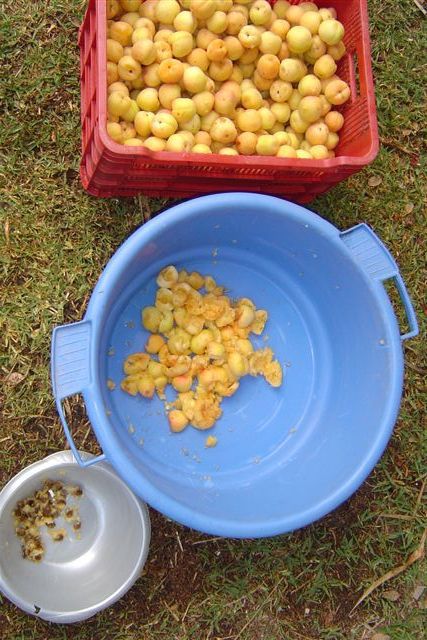
Then one by one open the fruit and remove the stones and squash the apricots. Although they may contain insignificant quantities of cyanide we don't want to be taking any chances.
Mashing
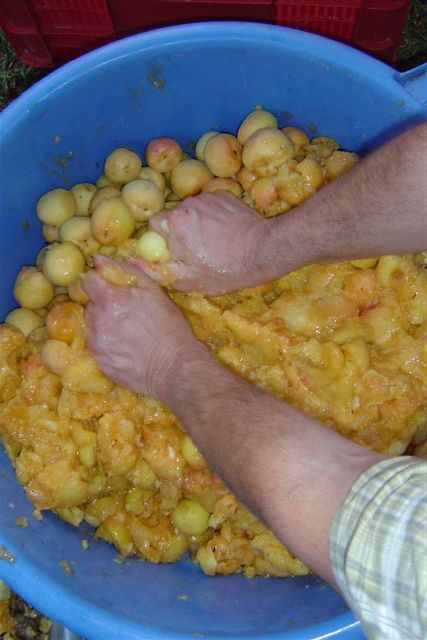
At the same time mash the apricots in a sterile recipient.
Continued...

Really do a thorough job of it.
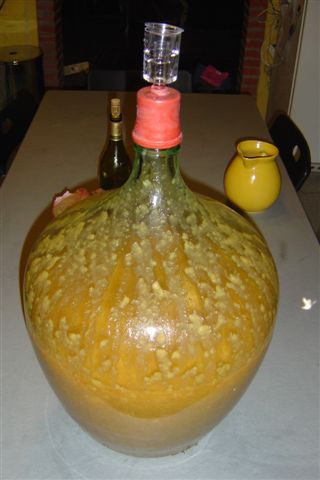
The balloon glass jug

This is the container that will be used for the fermentation process. Be absolutely sure that the containers used for the fermentation are sterile. It is important to determine the pH level of your mash to ensure a good fermentation by using a pH indicator or litmus paper. Also some micro-organisms thrive if the pH level is too high. The ideal pH level is 3 but slight variations are tolerated. You can correct the acid level with lemon or orange juice.
Filling up
Add some water to the mash to give it a more liquid consistency, say 2-3 litres
You'll need a funnel for filling up the balloon glass jug.
Adding yeast
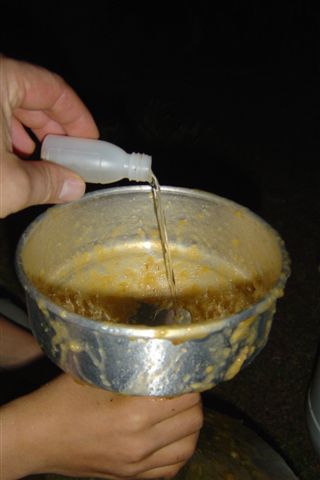
When the container is half full begin to add the yeast, this could be madeira or malaga type wine yeast. Also 10grams of winemakers' yeast nutrient salts was added to boost the process. If you'd like a stronger brandy you could add sugar for the yeast to feed on. You can measure the sugar content using a mustimeter although in this case were looking for a more natural product.
Shake before use
You need to give everything a good shake so your yeast and the yeast nutrients are evenly spread. This will also oxygenate your mash which will get your yeast to reproduce itself. Later you will want to cut off the oxygen supply so it can begin converting the sugars to alcohol, because that is what we are looking for.
Airlock
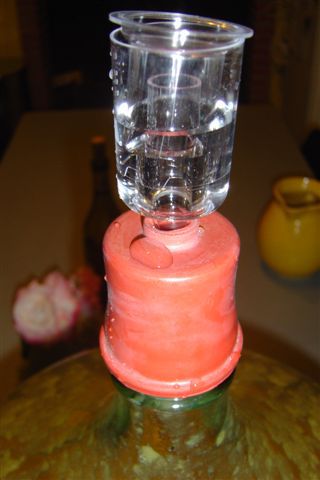
Fit an airlock and top up with water to the required level. This will allow the carbon dioxide to escape and keep the air and foreign matter out.
Fermenting

During the entire fermentation the mash should remain at a constant temperature of 20 °C to 25 °C. Fermentation should be carefully monitored; this is where practise and experience comes in. Depending on sugar content, temperature and yeast, fermentation will take anything from a couple of days to 2 weeks, at which time the airlock stops bubbling.
Preparation
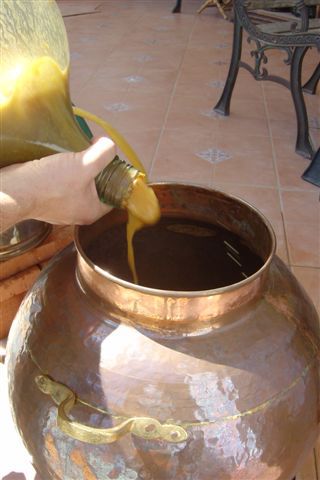
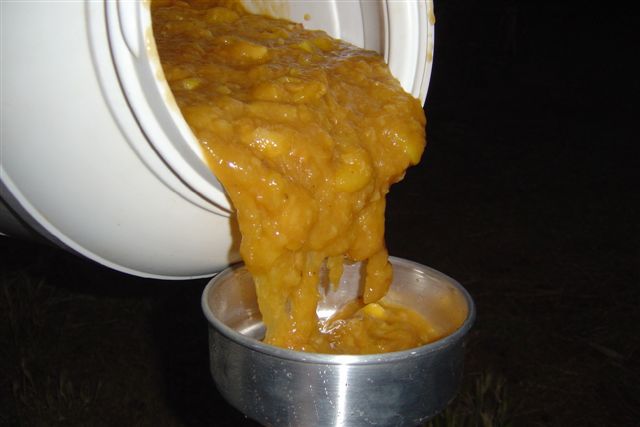
After allowing the mash to settle for a day decant your mash carefully into the still and discard any sediment at the bottom. For this example we are using a 25 L alembic still.
Sealing
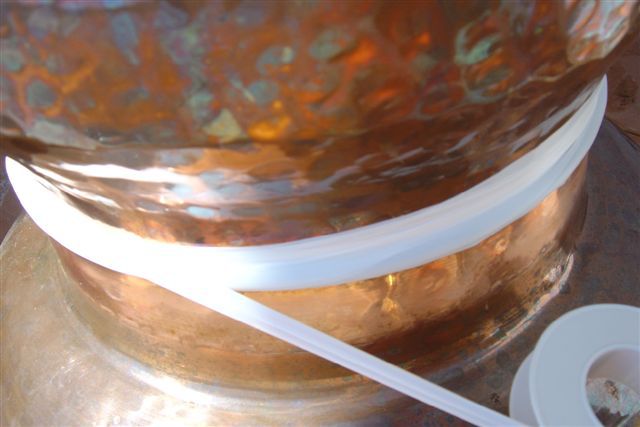
Before sealing your alembic ensure there is no obstruction in the piping that could lead to an excessive pressure build up. Place the lid onto the pot and seal all joints where vapour could escape using the sealing technique. In this case high temperature resistant silicone tape was used.
Filling the condenser
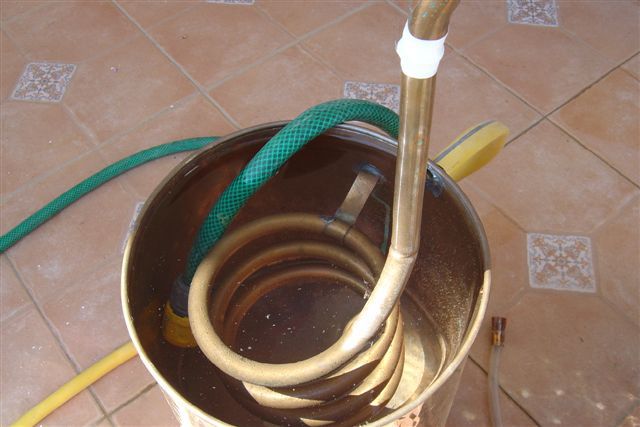
This should be self explanatory.
Distilling
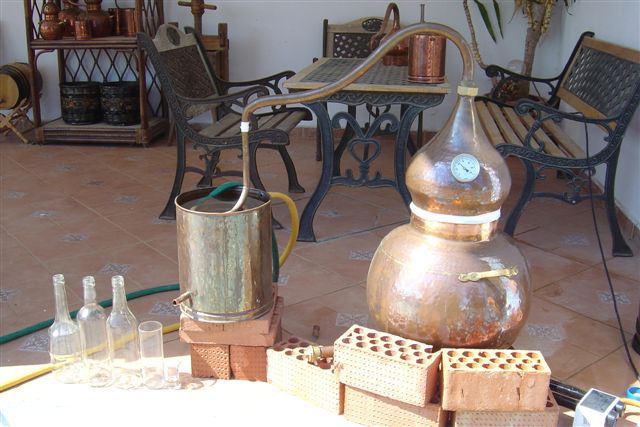
Bring the mash up to a slow boil. Check the temperature of the copper tubing near the brass fastener regularly and once you find that you can no longer hold the copper tubing lower your heat source to ensure a slow distillation. The slower the distillate exits from the condenser spout the better quality product you'll get.
Foreshots
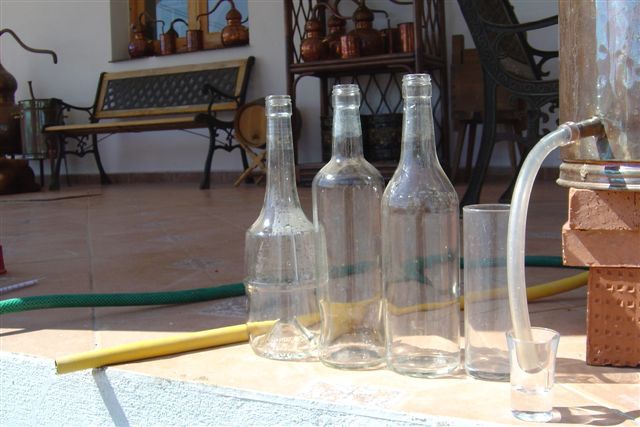
...you should discard the first 5ml per 1L as this may contain some undesirable volatiles.
The good stuff
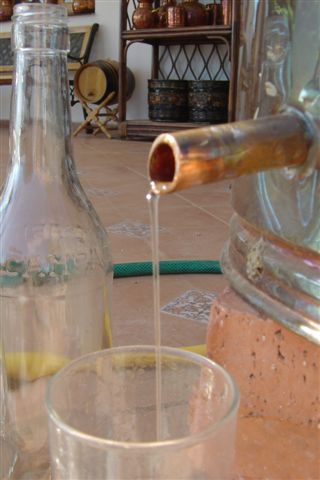
Have some sterile containers on hand to collect your distillate in. Ideally you should collect in quantities of 500ml. Check your temperature regularly and once you reach 96 °C you should stop distilling or else you'll be collecting the tails. Any distillate that smells funny should be regarded as tails and set aside. Finally turn off your heat source and open the lid - be careful, it's hot! . Wash up the still, dry it and store away. See our Cleaning and Maintenance article to keep your still in good shape. Lie back in your favourite lounge chair, put on some music and enjoy your homemade apricot brandy in the company of friends.