Orange Liqueur
Orange Liqueur Distillation using a 6L Distilling Appliance
Ingredients: oranges, brown sugar, neutral spirit (e.g. vodka)
Method: simple distillation process
Suitable Stills:
- Alembic still
- Alquitar still
- Appliance still
- Bain Marie recipient with an alembic still
- Professional 130 L water bath distilling alembic
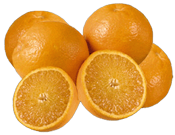
Making an orange liqueur is not all that difficult and can be great fun especially if you're entertaining friends at home and wish to serve freshly made orange liqueur after a delightful dinner. We"ve simplified the process by providing you with easy step by step instructions on how to distil your own orange liqueur.
Although the still used in the demonstration is an appliance still you may use any type of still for this distillation process.
Many households in Portugal use this same basic recipe for making orange liqueurs at home. It could also be a great base for many dishes, ever tried orange honey baked chicken? Remember, you can modify this recipe in any way you like by trying other citrus fruits, or by adding a few cloves or honey. Ignite your imagination but remember to use spices sparingly or they may spoil your liqueur.
Recipe:
Step 1
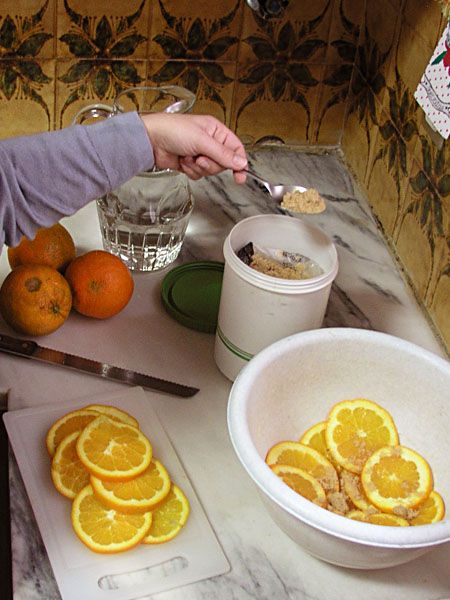
Place orange slices into a dish and add brown sugar...
Step 2
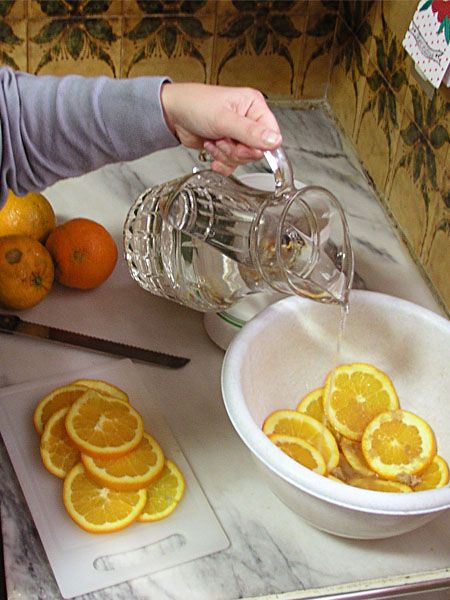
Next, add a neutral spirit from a previous distillation or commercial vodka ...
Step 3
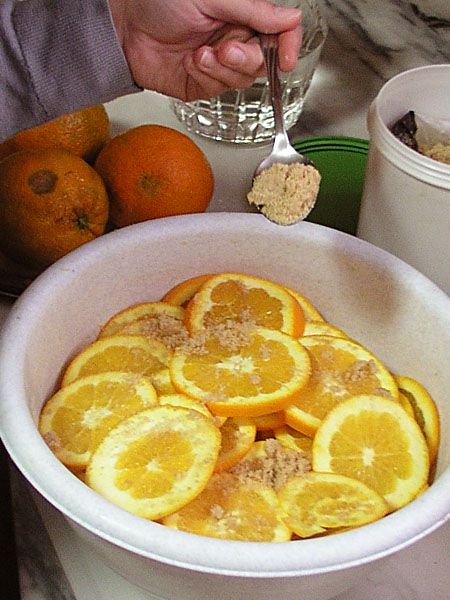
Now sprinkle some more sugar over the whole lot...
Step 4

and allow to stand overnight for the flavours to marry...
Step 5
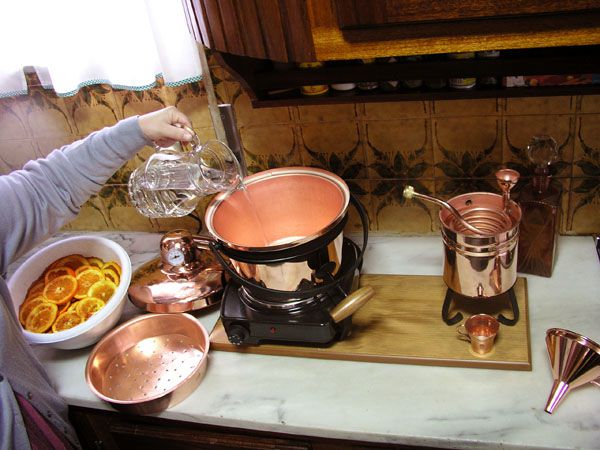
After you've allowed the mixture to steep overnight you can begin preparing for the distillation. Begin by pouring your spirit into the pot; you can add water if you like, depending on the desired strength of your liqueur...
Step 6
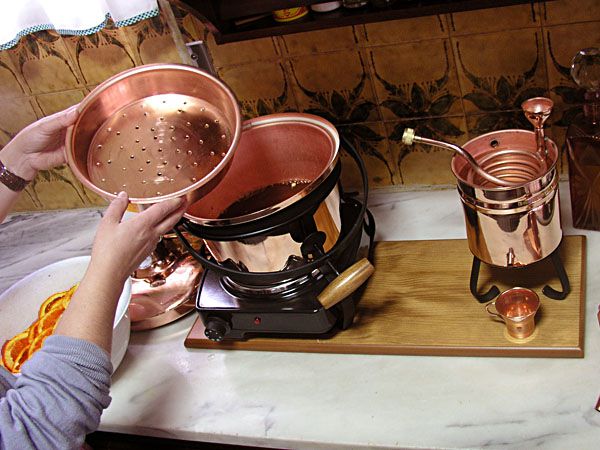
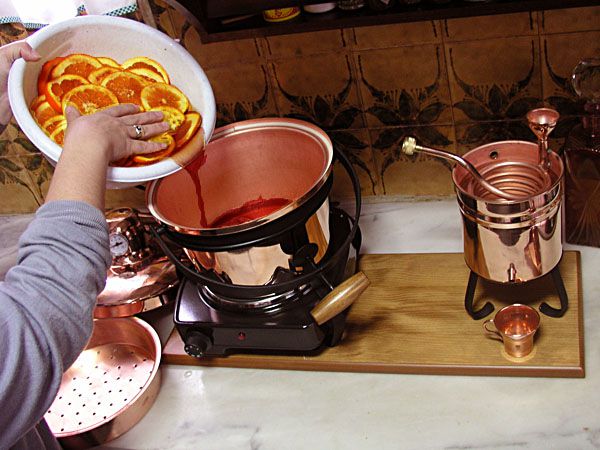
Pour all the liquid from your mixture into the copper pot...
Step 7
Now place the sieve plate in the pot transforming it into a vapour distilling unit by means of a steam distillation process.
Step 8
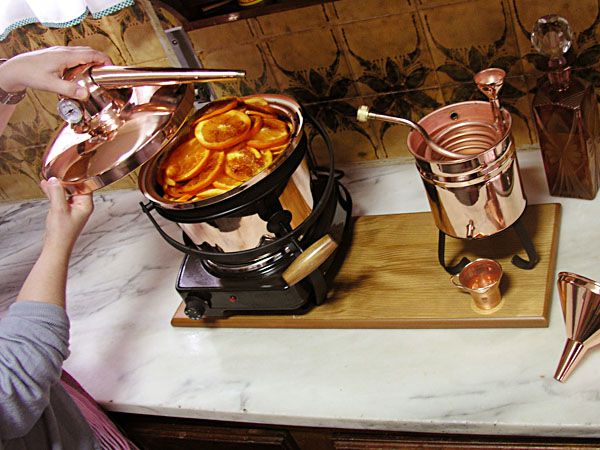
Put your orange slices onto the sieve plate. This will allow the rising vapours to mingle with the orange slices thereby enhancing the flavour even further. Fit the rubber seal provided and place the lid onto the unit...
Step 9
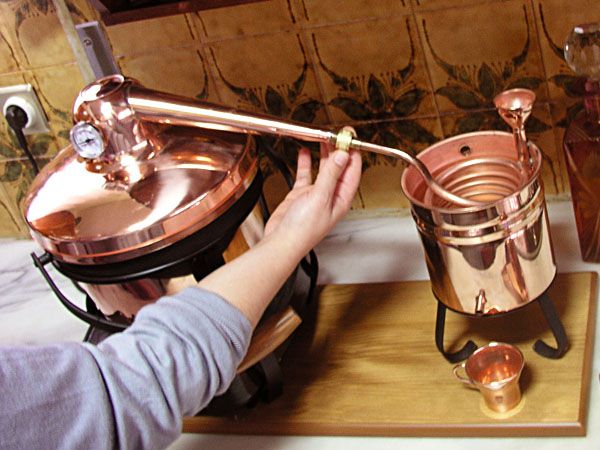
It's time to assemble the unit. Connect the condenser coil using the rapid locking/unlocking brass fastener...
Step 10
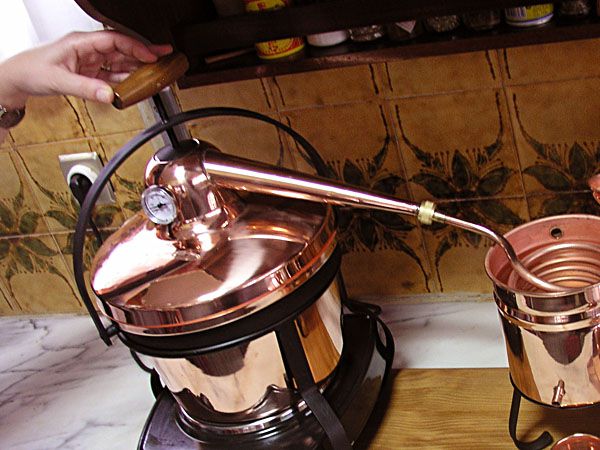
Fasten the lid onto the pot using the screw handle to tighten and fill the condensing unit with cold water...
Step 11
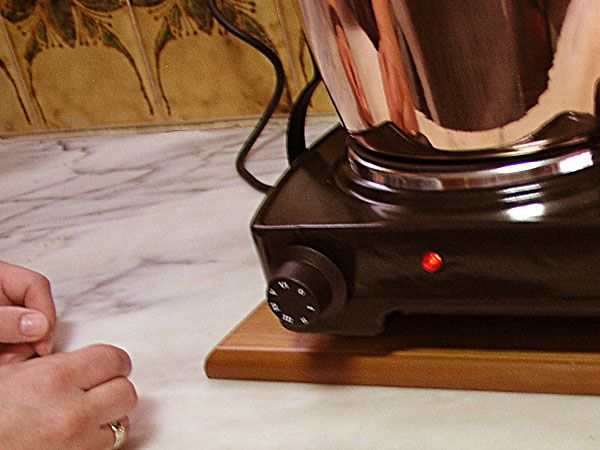
Adjust the temperature control to its highest position initially. Check the temperature of the copper tubing near the brass fastener regularly and once you find that you can no longer hold the copper tubing it's a sure sign the hot vapours have begun the distilling run. Lower the temperature control to position 2 and maintain a slow and steady distillation. A slow distillation ensures a high quality product.
Step 12
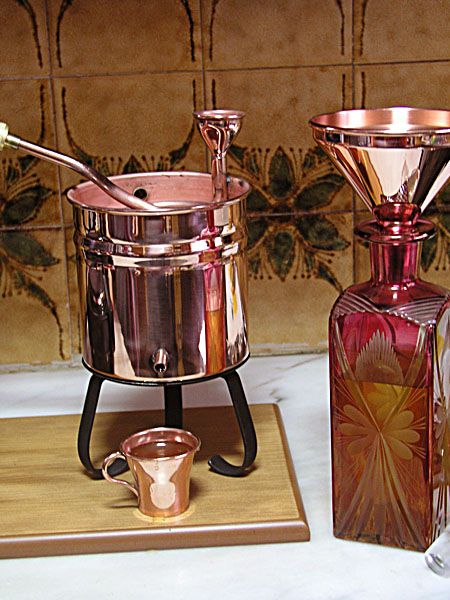
Use the small copper cup provided to collect all of the distillate. Seeing that we are using pure distilled spirit there is no need to remove impurities...
Step 13
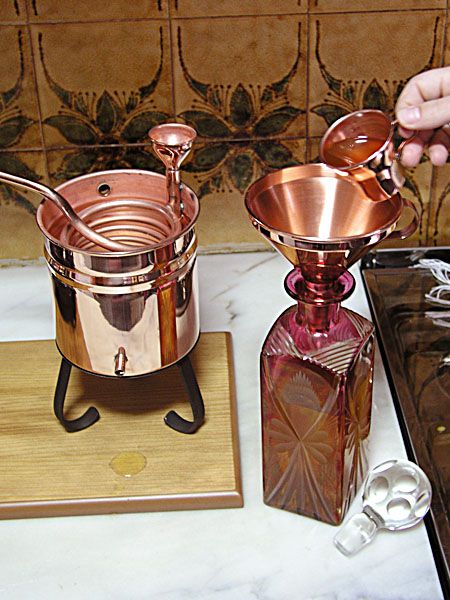
And finally this liquid gold is ready to enjoy!

